
Withering Realms Advanced Combat Tips
Poise, stagger, spacing over rolling, stamina economy, and using Clover as a second combat layer.
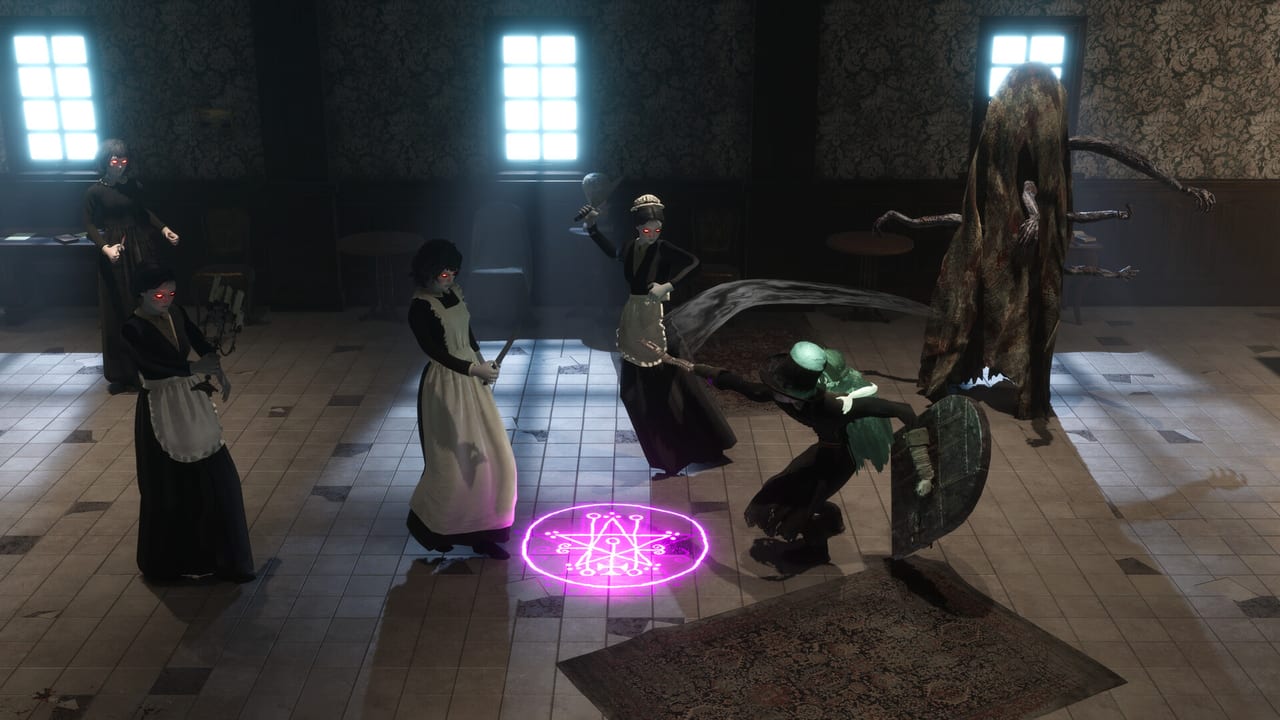
The basic combat guide covers the four arms and the tool socket. This page is for what comes after you understand those parts: how poise and stagger actually work, why positioning beats rolling in this game, how to manage stamina as a resource rather than a bar, and how to keep Clover working while the doll is mid-swing. Steam Early Access is dated 2 September 2026. The game is single-player.
For the mechanical foundation start with the combat guide. For loadout archetypes start with the best builds. For boss patterns start with the bosses guide.
Poise and stagger in detail
The stagger system is the core of fair difficulty in Withering Realms. Every enemy has a poise bar that depletes when you hit them. When poise hits zero, the enemy staggers and is open for a full punish. When poise is not zero, the enemy can trade hits with you even while you are mid-combo.
The mistake most players make in the first hours is attacking an enemy that has not staggered. A rotter mid-swing will not flinch. A staggered rotter will eat a full combo. The difference between a clean dungeon run and a chip-death spiral is reading that state before you commit.
This is why the demo’s biggest complaint was players taking damage while relentlessly attacking. The game is teaching you to attack until the stagger, then punish, then reset. It is not teaching you to attack because you can.
Heavier attacks and specific tools deplete poise faster. A Pivoting Greatsword secondary combo will break poise on most standard enemies faster than a light combo. A Chain Rock will pull casters out of poise and into range. Know which of your tools applies poise pressure and use it before you assume the light string is free damage.
Why positioning beats rolling
Early on, the standard dodge does not give you invincibility frames. Rolling directly into an enemy’s attack path will have the attack connect. This is a deliberate design choice that trains you to use the dodge as a positioning tool, not as a panic button.
Instead of rolling through an attack, use the dodge to move your actual hitbox away from the attack path. For basic enemies, a backstep creates enough distance for a short-range attack to miss. For larger enemies, move toward their flank. Once you have escaped the weapon’s tracking direction, you can punish the recovery animation.
The Evasion Codex is equipment that changes the dodge behaviour and introduces an invulnerability window near the beginning of the animation. Once you equip it, you can start using timed rolls through attacks. But even with i-frames, panic-rolling burns stamina faster than the game can regenerate it. Learn the timing of individual enemy attacks before you rely on i-frames to carry you.
The principle: dodge because you know where the attack is going, not because the attack is scary.
Stamina as a resource
Never spend your entire stamina bar just because you can. It is incredibly tempting to finish an attack combo when an enemy is almost dead. Resist this. A missed opportunity costs some damage. An empty stamina bar costs the entire fight, because you cannot dodge, you cannot attack, and you cannot reset the spacing.
A good early-game rhythm: one heavy attack, then disengage. Or two light attacks, then reposition. Use Clover’s abilities while the Doll recovers. Attack again once your stamina returns.
The exception is when an enemy is staggered. A staggered enemy is an open window. Empty the bar into that window if you are confident the stagger will hold. But watch for the stagger to break early. Some enemies have variable stagger durations.
Stamina also interacts with armor weight. Heavy armor makes movement and stamina management more demanding. If your current build already struggles with stamina, adding more weight is unlikely to solve the problem. Favor mobility equipment in the early game until you understand the stamina curve.
Using Clover during doll recovery
The Doll and Clover are not simply two animations attached to the same character. Their different resources allow you to maintain pressure even when the Doll cannot comfortably continue attacking.
When you have emptied most of the Doll’s stamina with a heavy attack sequence, switch your attention to Clover instead of waiting for the green bar to refill. Use a spell. Throw a projectile. Deploy a useful item. Create some additional pressure from range. The Doll can continue recovering while Clover contributes to the fight.
This effectively turns recovery time into productive combat time. Once you understand this, stamina management becomes much less restrictive. The doll’s attack commitment is the risk; Clover’s cast fills the recovery frames.
The habit to develop: after every Doll attack sequence, ask what Clover can do while the Doll stands. The answer is usually something.
Reading enemy attack patterns
Every enemy in Withering Realms telegraphs before they attack. The telegraph is your primary information source. Learn to read:
- Wind-up animation: how long the enemy spends before the attack lands
- Attack arc: the physical path of the weapon or body part
- Recovery frames: how long the enemy is vulnerable after the attack
- Tracking: whether the attack follows you or commits to a fixed direction
For humanoid enemies, the wind-up is usually visible in the upper body before the weapon moves. For large enemies, the wind-up often involves a dramatic pause before the swing. For casters, the wind-up is the spell cast animation; interrupting casters with Clover’s catalyst is a high-value play.
The game does not hold your hand on this. You have to watch, and you have to be willing to disengage from an encounter you do not yet understand. The bosses guide covers specific patterns for named encounters.
Tool selection for specific situations
The fifty-tool arsenal is not uniform. Different tools excel in different situations:
Close quarters: the Pivoting Greatsword and the Enchanted Candelabrum work best when you can see the full arc of the swing. In narrow corridors or against multiple melee enemies, a wide arc is an advantage.
Ranged pressure: the Machinegun and Chain Rock give you threat at range. The Chain Rock pulls enemies toward you; the Machinegun holds a line. Neither is a replacement for spacing discipline.
Crowd control: the Flamethrower and Chain Rock handle multiple enemies differently. The Flamethrower creates an area denial zone. The Chain Rock chains multiple bodies and can reposition a single elite into a crowd for aoe.
Night combat: the Enchanted Candelabrum provides light while attacking, making it a dual-purpose tool for night routes where visibility is a survival problem as much as a combat problem.
When to change your approach
If an encounter is consistently failing despite correct spacing and stamina management, the problem is usually one of three things: wrong tool for the content, insufficient levels on the relevant track, or missing Clover usage during recovery.
Check the tool against the weapon ranking. Check the level tracks against the best builds. Check whether you are using Clover’s hands during doll recovery. Most first-clear failures trace back to one of those three.
If all three check out and the fight is still a wall, that is the report the developer asked for. Press /, attach the save, name the dungeon, the weapons on each arm, and whether it was day or night. Use the language the wiki uses so the ticket is readable.
Frequently Asked Questions
Quick answers for Penwyll, the doll, and Early Access.
How does stagger actually work?
Every enemy has a poise bar. Deplete it by attacking, then the enemy staggers and is open for a full punish. An enemy with remaining poise can trade hits even during your combo. Attack until the stagger, then punish, then reset.
Does dodging give i-frames?
Not by default. Early on, use dodge for positioning rather than invincibility. The Evasion Codex introduces i-frames, but panic-rolling still burns stamina. Learn enemy attack patterns before relying on i-frames.
How do I manage stamina effectively?
Never empty the bar. After a heavy attack sequence, disengage and let stamina recover while using Clover's abilities. A good rhythm: one heavy attack, disengage, Clover works, then attack again when stamina returns.
How do I use Clover during combat?
Clover can cast spells or use items while the Doll is mid-attack. When the Doll's stamina is low, switch to Clover instead of waiting. This turns recovery time into productive combat time.
What is the best tool for night combat?
The Enchanted Candelabrum provides light while attacking, making it a dual-purpose tool for night routes where visibility is a survival problem as much as a combat problem. See the weapon ranking for full tool analysis.
When should I change my approach to an encounter?
If spacing and stamina management are correct and the fight still fails, check: is the tool right for this content, are the level tracks appropriate, and are you using Clover during doll recovery? If all three are correct, file a report.